
In Salesforce, an approval process is a workflow automation feature that defines a sequence of steps for record approval. During the approval process, designated approvers can review, approve, or reject the submitted records. While the standard button is the most common method for submitting a record for approval, it is also possible to automate the process using flow. Here is how to utilize the 'Submit for Approval' core action within flow.
Input Values of the Submit for Approval Action
Add an action element and search for Submit for Approval. Then, set values for the action.
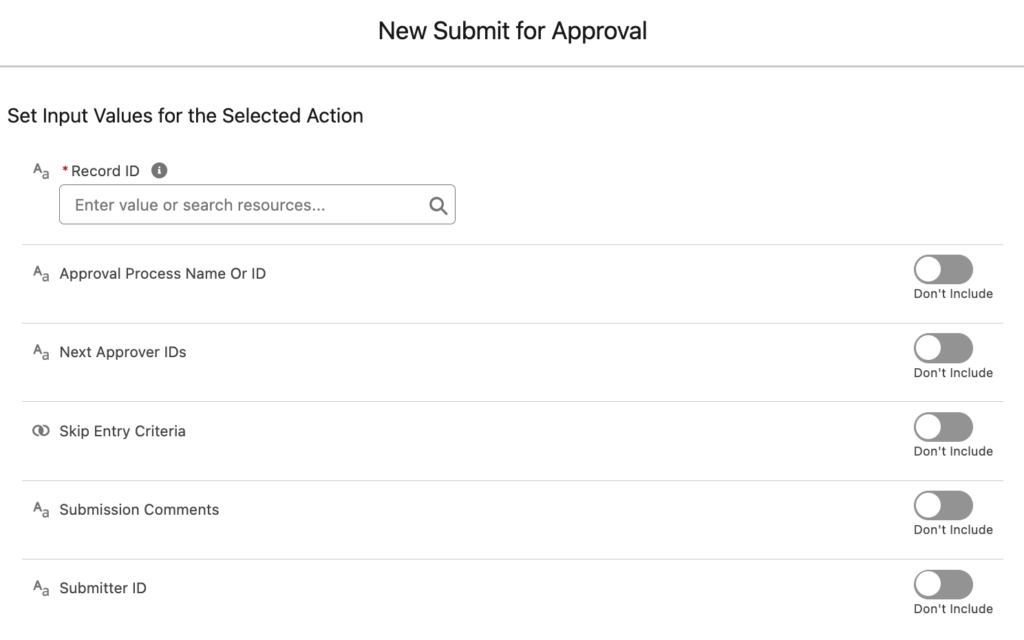
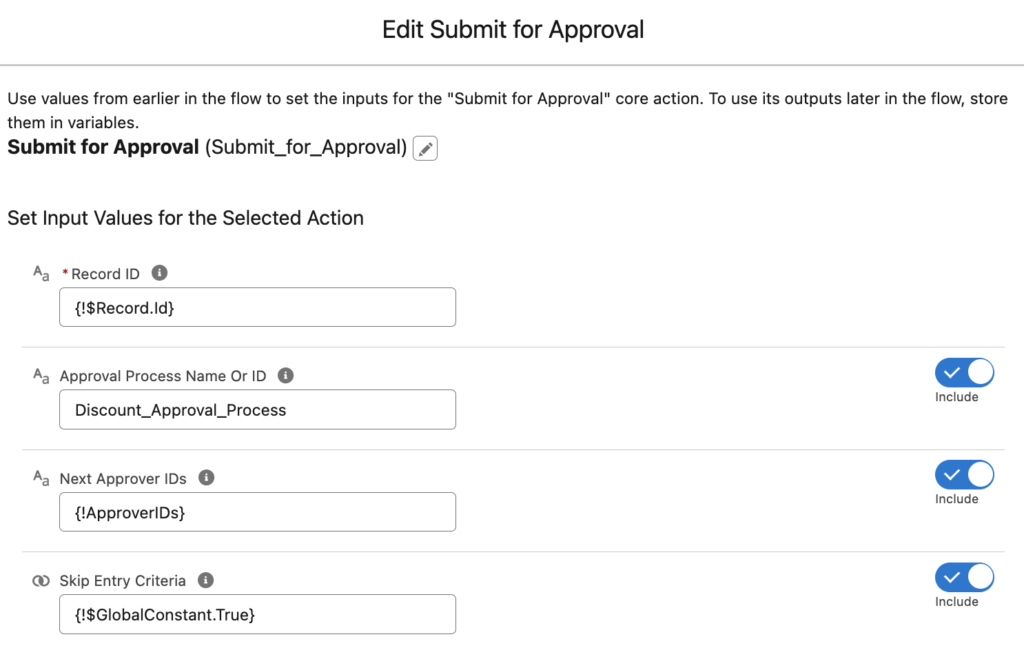
- Record ID: This is the Id of the record that you want to submit for approval. You must set this input value.
- Approval Process Name or ID: Set the API name or Id of the approval process to run against the record. This input value is optional. If you don't set a value, system uses the first approval process whose entry criteria the record satisfies.
- Next Approver IDs: If your approval process allows manually choosing the approver, you can use this input value. This parameter accepts collection variables of type Text that include exactly one item. You can set the Id of a user or a group.
- Skip Entry Criteria: If you set this parameter to true, system doesn't evaluate the record against the entry criteria of the approval process. In this case, you must provide a value for Approval Process Name or ID.
- Submission Comments: This is an optional text value for setting the submission comments. If you set it, it will appear in the approval history of the record.
- Submitter ID: This optional parameter is the Id of the user submitting the record for approval. If you don't set a value, submitter will be the current user.
Output Values of the Submit for Approval Action
- Instance ID: This is the Id of the approval request that was submitted.
- Instance Status: This is the status of the current approval request. Possible values are Approved, Rejected, Removed, or Pending.
- New Work Item IDs: This output value stores the Ids of the new items submitted to the approval request. There can be 0 or 1 approval processes.
- Next Approver IDs: This output value stores the Ids of the users who are assigned as the next approvers.
- Record ID: This is the Id of the record that the flow submitted for approval.
Record-Triggered Flow Example
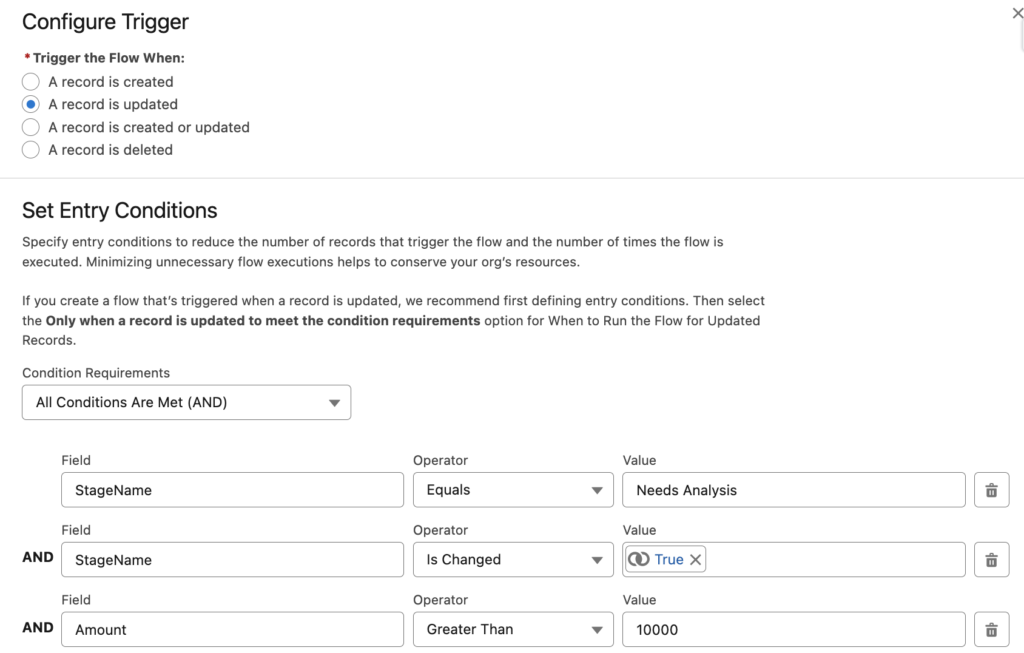
Let's assume that we want to get an approval when an opportunity's stage becomes 'Needs Analysis' and the amount is greater than 10K.
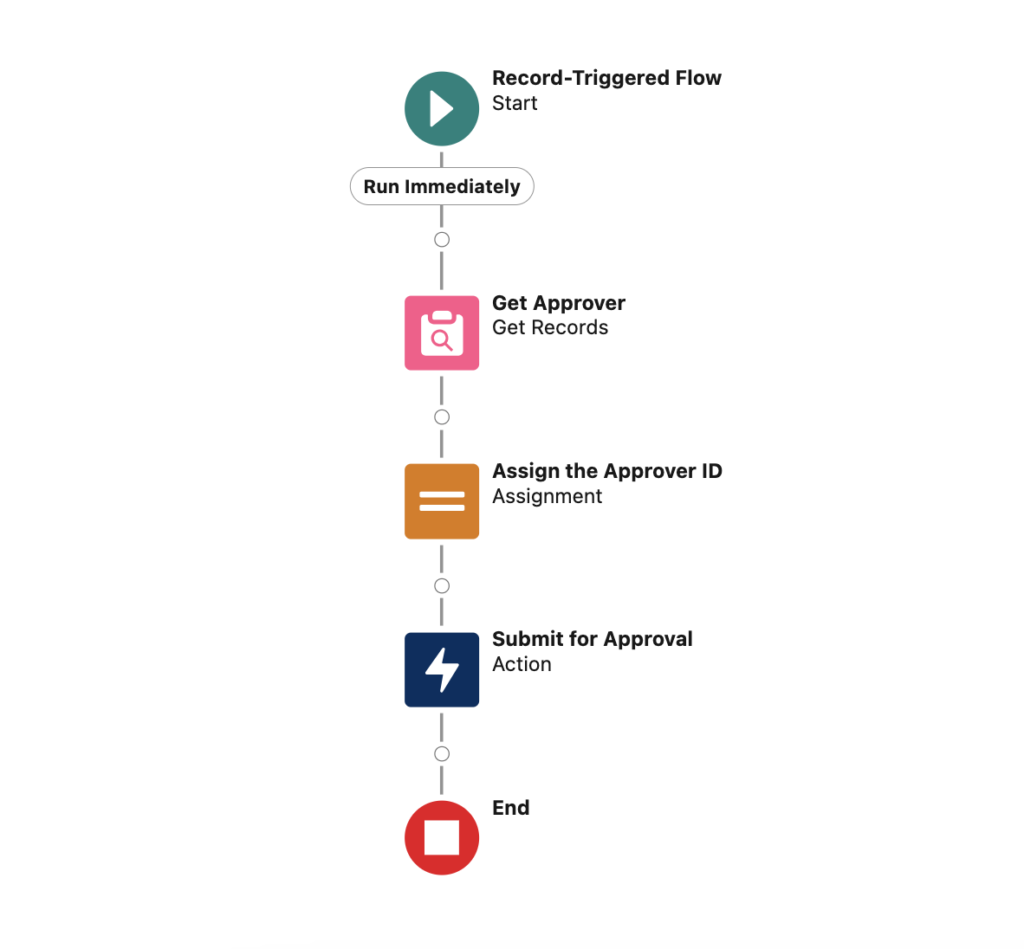
Create a record-triggered flow on the Opportunity object and set the entry conditions like this. Since you will use the Submit for Approval action, your flow must run after-save. Therefore, you have to choose Actions and Related Records.
Add an action element and choose Submit for Approval. Then, set values for the action.
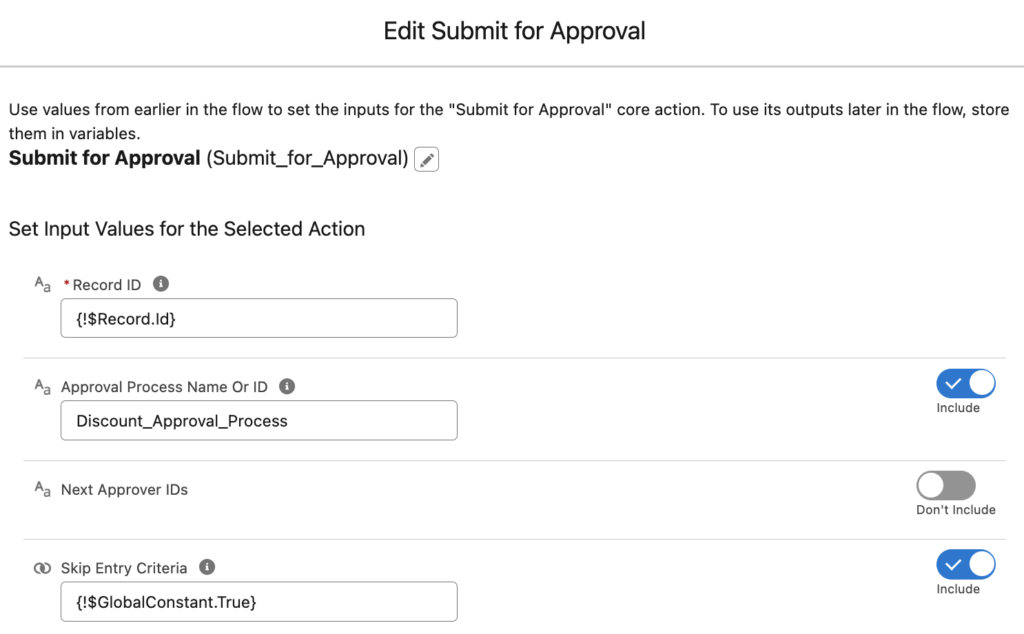
That's all you need to submit the record for approval.
Now, let's assume that your approval process allows manually choosing the approver. Create a text collection variable and use an assignment element to add the Id of the approver to this collection.
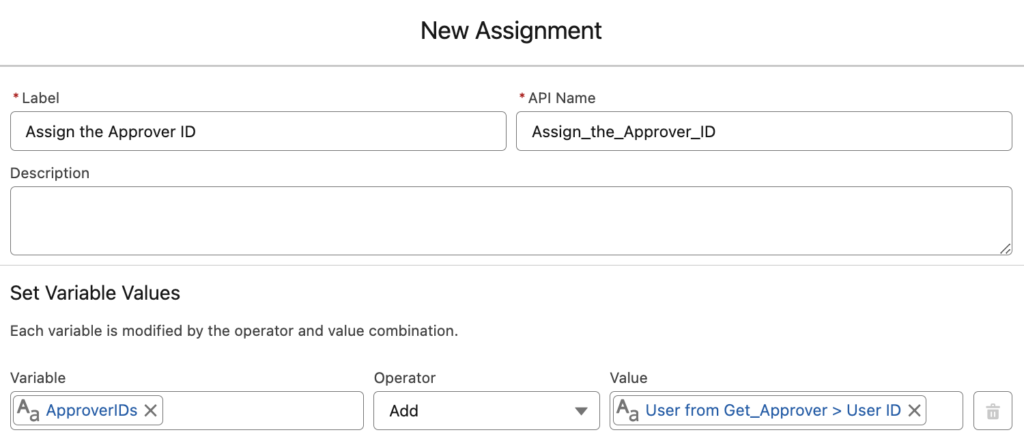
Then use this text collection variable for Next Approver IDs input value.
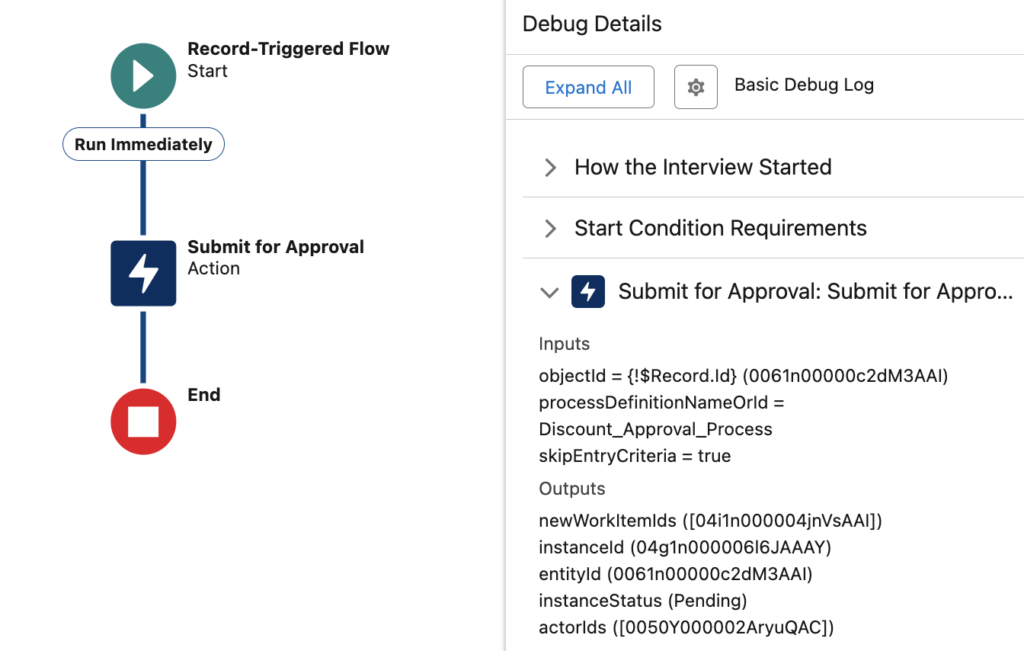
At the end, your flow will look like this.
Leave a Reply