
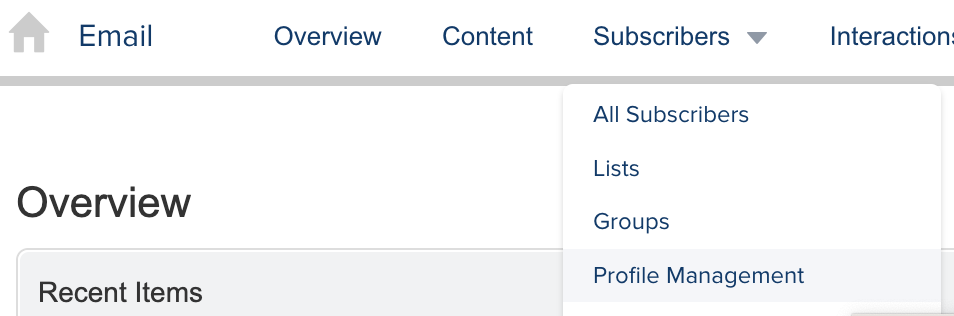
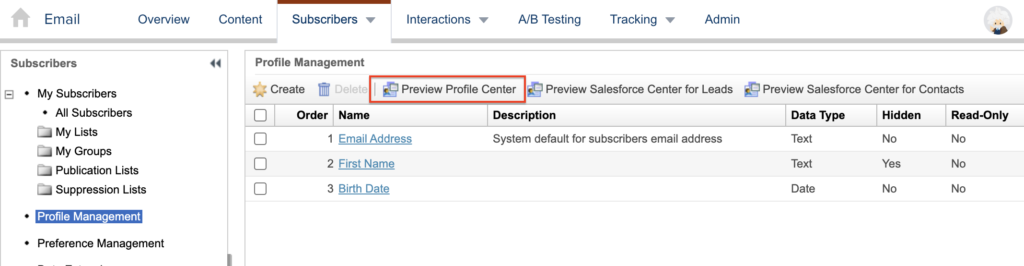
Email Studio utilizes Profile Center and Profile Management to store information about subscribers. A Profile Attribute contains information characterizing a subscriber profile. The Profile Center has a default attribute (Email), and you can create additional attributes in Profile Management. For instance, attributes like First Name, Last Name, Gender, and Birth Date. To access Profile Management, navigate to Email Studio. Then under the Subscribers menu, click on Profile Management.
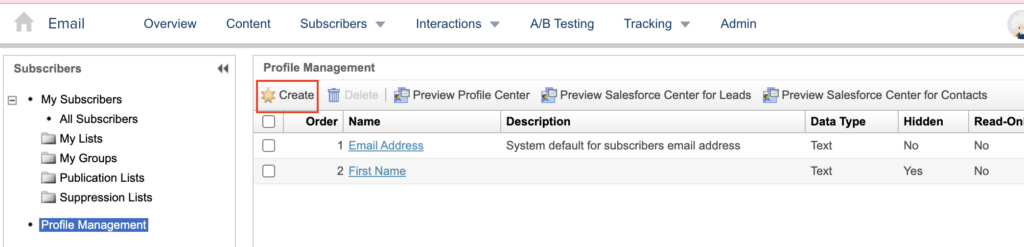
In order to add new attributes, click the Create button.
Creating a New Attribute
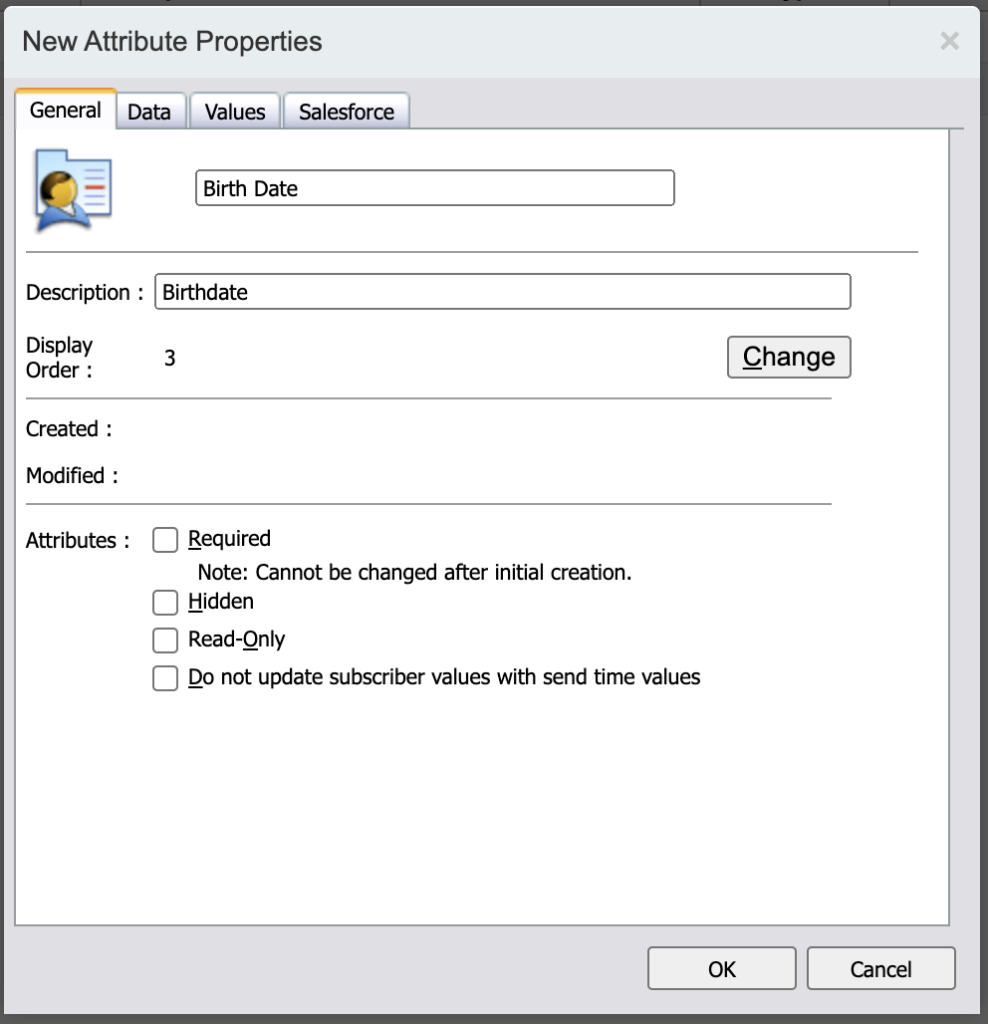
Give your attribute a name. In this article we will use Birth Date as an example.
General Tab
On the General tab, name your attribute, add an optional description, and adjust the display order using the Change button. This affects the order on both Profile Management and Profile Center pages, where there are four attributes listed.
Required means that this attribute must have a value when you create or import subscribers. Once you choose it as required, it is not possible to change it after the creation. Hidden means that this attribute won't be shown on the profile center. Read only means that this attribute will be read only and you cannot edit from the profile center. The 'Do not update subscriber values with send time values' checkbox determines whether the system updates the attribute with triggered send values for existing subscribers triggering a send.
Data Tab
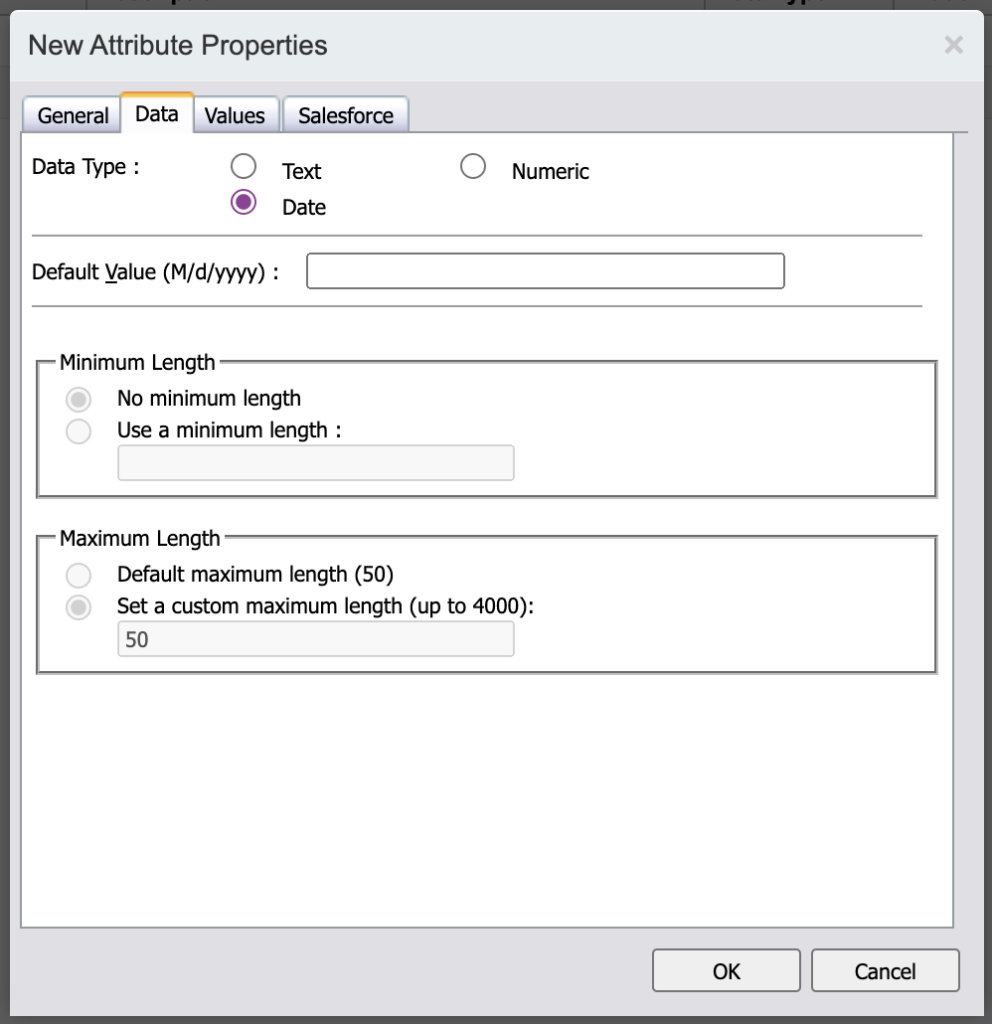
On the Data tab, choose a data type, such as date for the Birth Date attribute. You can also add a default value, but it doesn't make sense in this example.
From the Data tab, define the minimum and maximum length for this attribute. In this example, it's not relevant. For text data types, set minimum and maximum length, and for numeric data types, set minimum and maximum values.
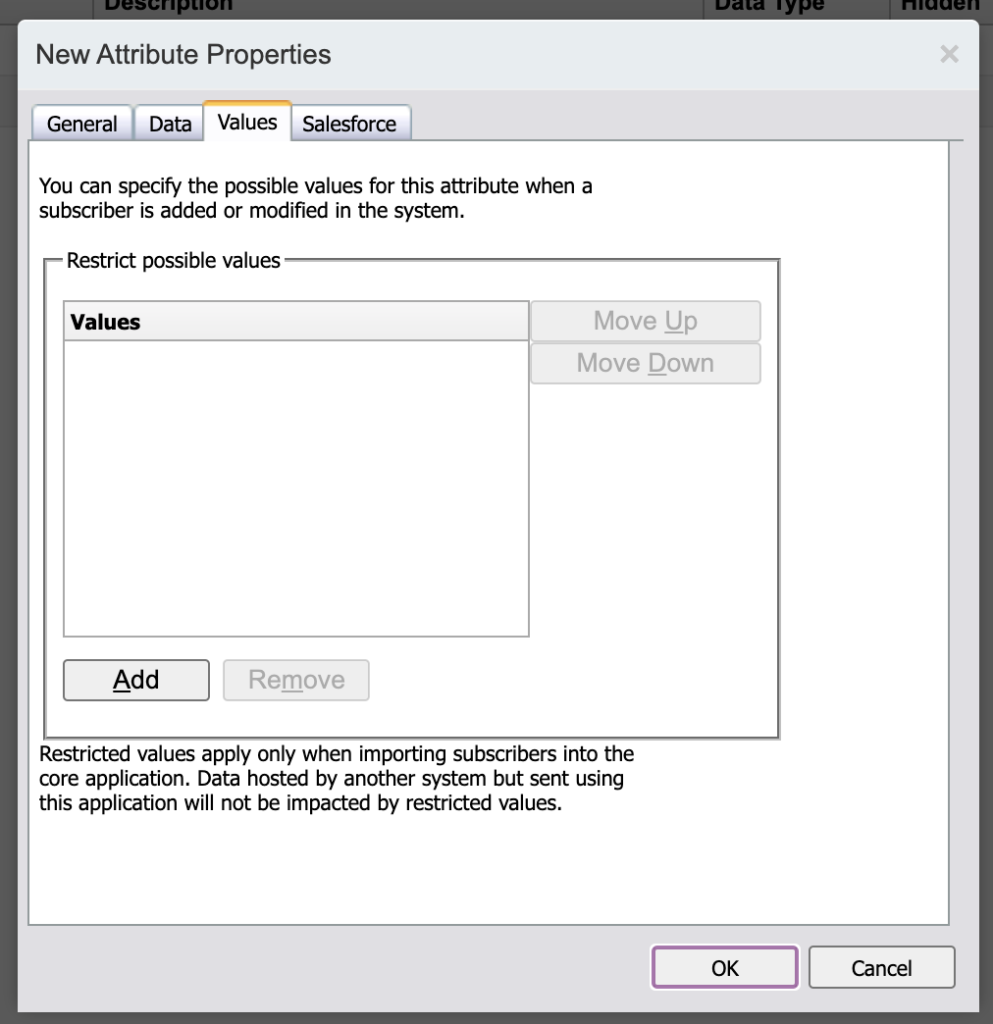
Values Tab
On Values tab, you can add some values for this attribute. For example, we have a Marital Status attribute which is a Text data type. You can enter values as Single, Married, Divorced and Widowed by clicking the Add button. On the other hand, you can remove values by selecting and clicking Remove. You can also arrange the order with move up and move down buttons.
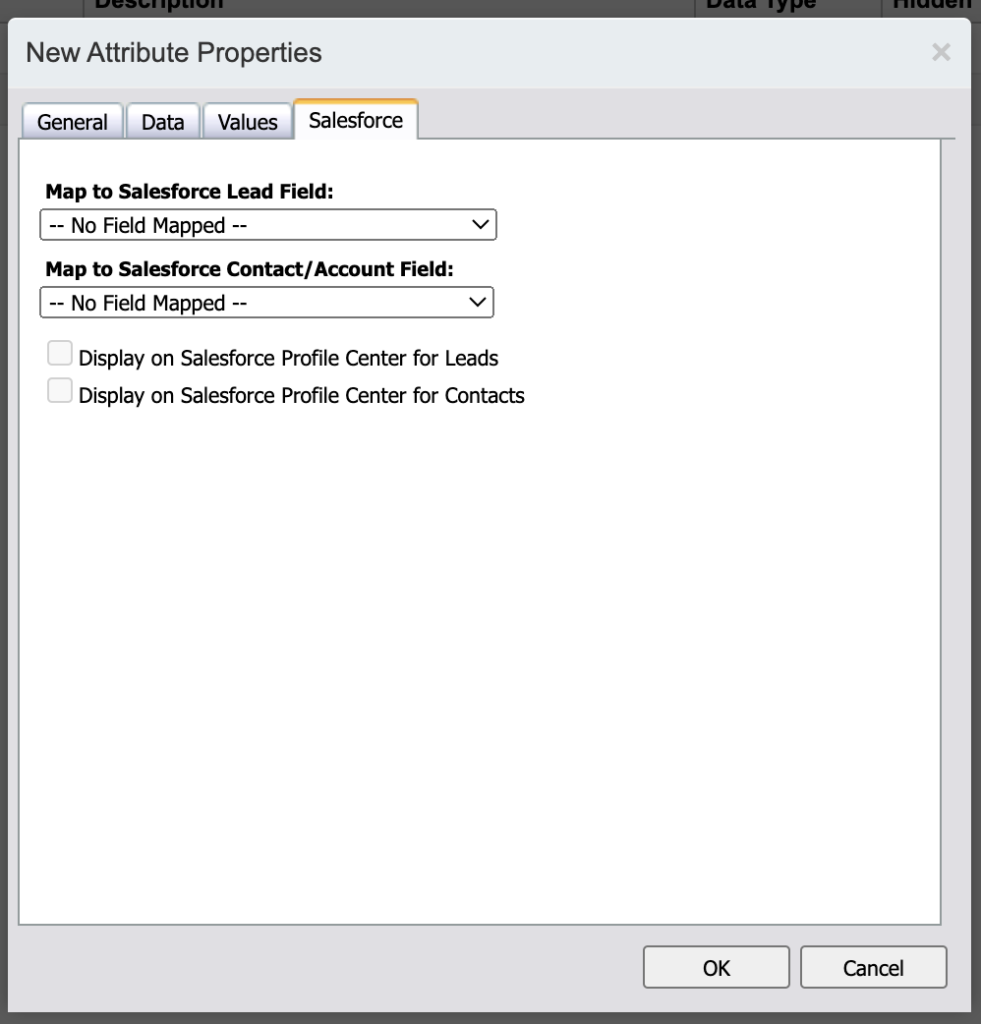
Salesforce Tab
From the Salesforce tab, map your Salesforce fields to Marketing Cloud attributes for email personalization. Note that you cannot map lookup, checkbox, and multi-select picklist fields from Salesforce to Profile attributes. Additionally, the data type of the attribute and the field in Salesforce should match. Keep in mind that if you map an attribute to a Salesforce Account field, subscribers cannot see this field on the profile center; only Lead and Contact fields will be visible. Ensure that the maximum or minimum length of an attribute matches the Salesforce object's field length. Click OK to save the new attribute.
After you create new attributes in profile management, click Preview Profile Center.
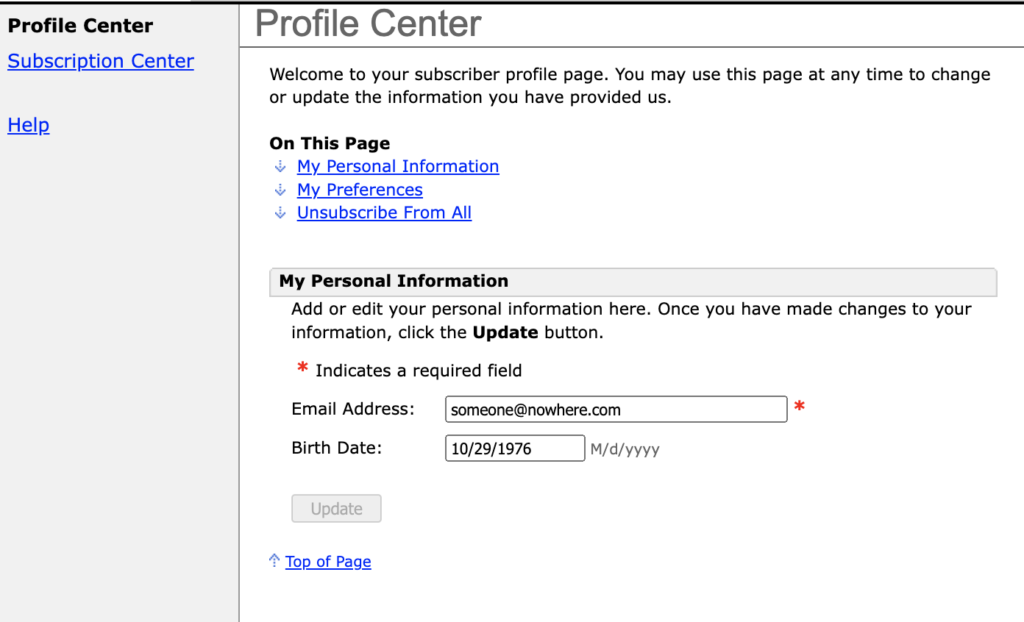
As you can see, preview of the Profile Center includes the Birth Date attribute. We can't see the First Name on Profile Center because this attribute was selected as hidden on profile management. We see the Birth Date under the Email Address because its display order is 3.
That's it. This is how to create new attributes in profile management.
Click here to read more posts about Salesforce Marketing Cloud.
Leave a Reply