
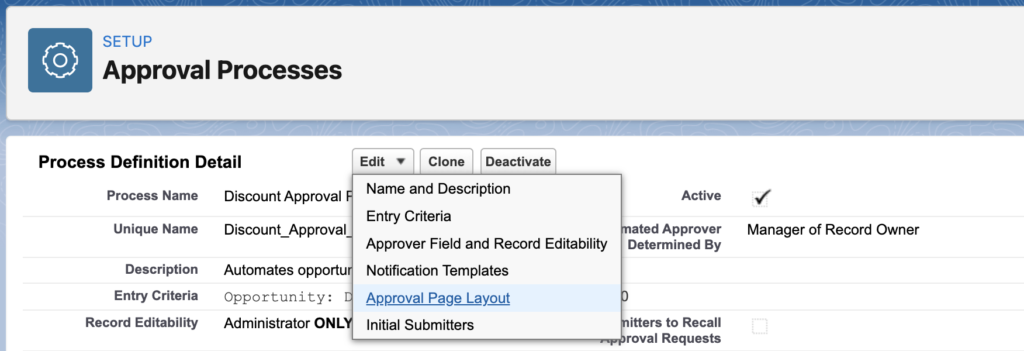
Approval process is an automation tool that lets users submit records for the approval of other users. An approval process can have one or more steps. Using the steps, it is possible to request approval from multiple users and define what to do at each step of the process. There are multiple ways to approve a request. One of these ways is the approval page. The approval page is where an approver will actually approve or reject a request. It can be configured in the approval process. You can display fields from the record so that the user can have a look at the record while approving or rejecting the request. However, it is not possible to make the fields editable on the approval page layout.
As you can see in the picture below, you can add fields to the approval page layout. However, you cannot mark them as read only or editable. There is an idea to make this available but it is open for 13 years and still not possible.
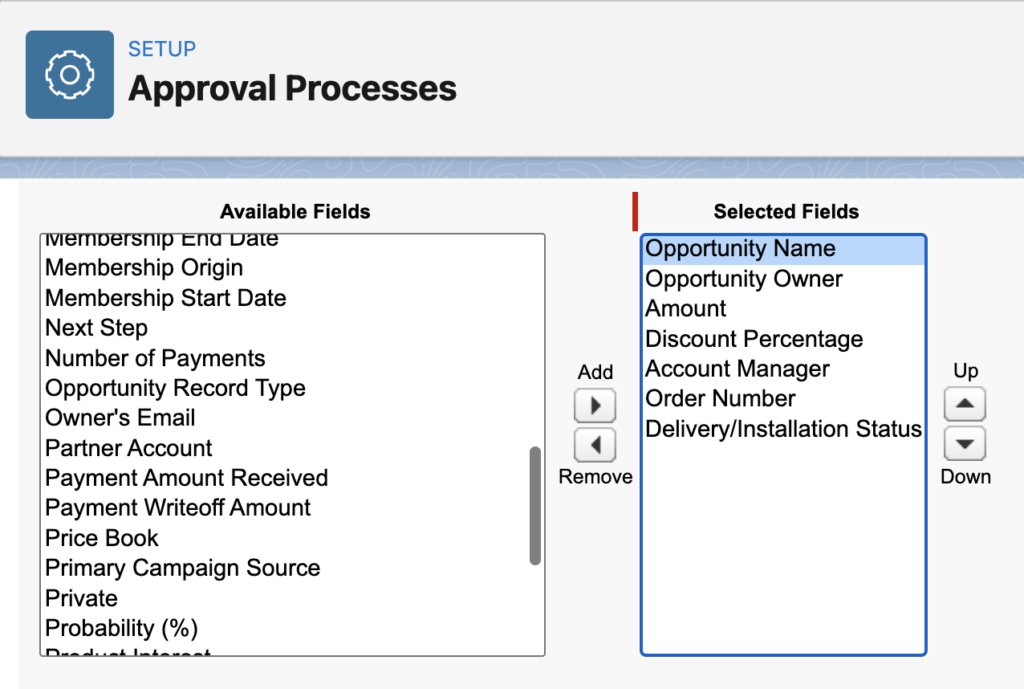

Sometimes approvers might need to update some fields while approving a request. In these cases, they have to click the name of the record and then update the fields on the record itself. It is not possible to edit the record directly from the approval page. However, you can build a screen flow to let them update the record directly from the approval page.
Build a Screen Flow to Update the Record
1- Create a new screen flow and then create an input text variable. This text variable will get its value from the approval request's lightning page and it will store the Id of the approval request.
Read this post to learn about the flow types.
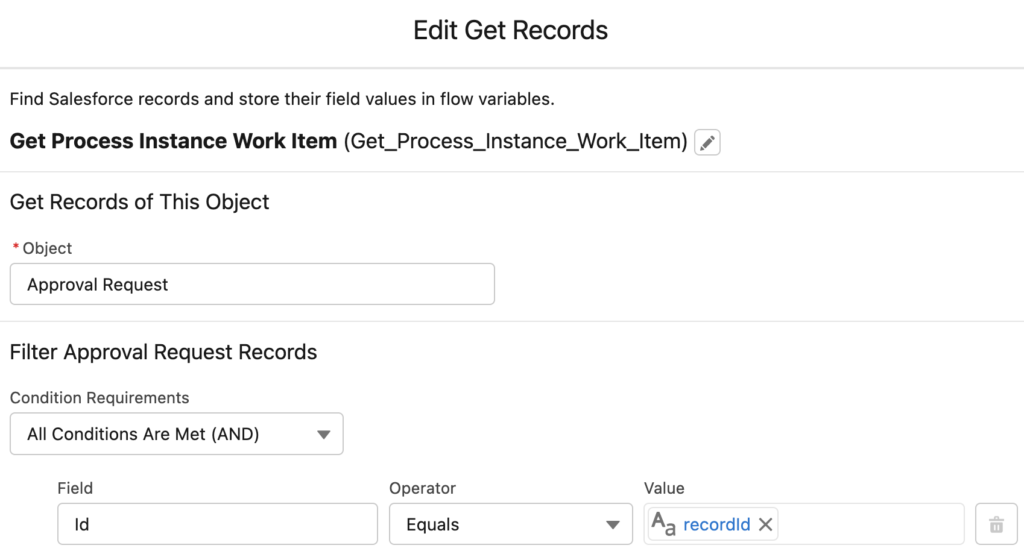
2- Approval request is stored in an object called Approval Request. The API name of this object is ProcessInstanceWorkItem. Add a Get Records element to the canvas and get the ProcessInstanceWorkItem according to the current record's Id.
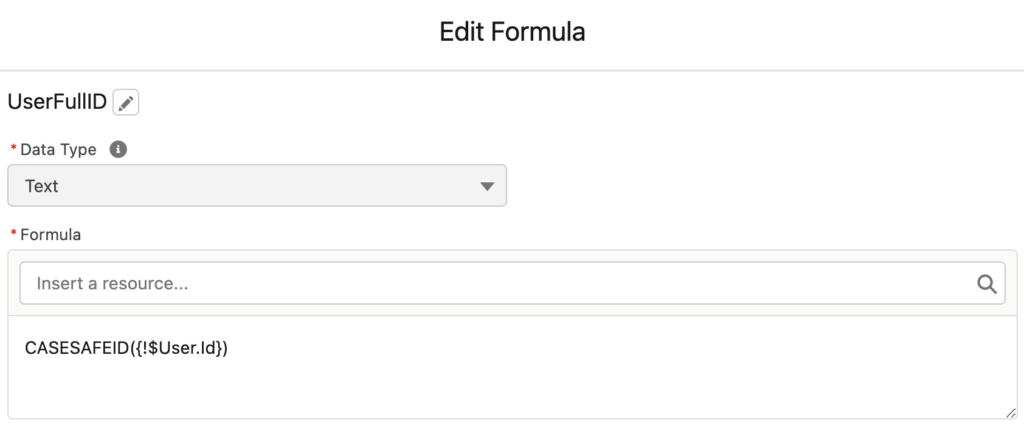
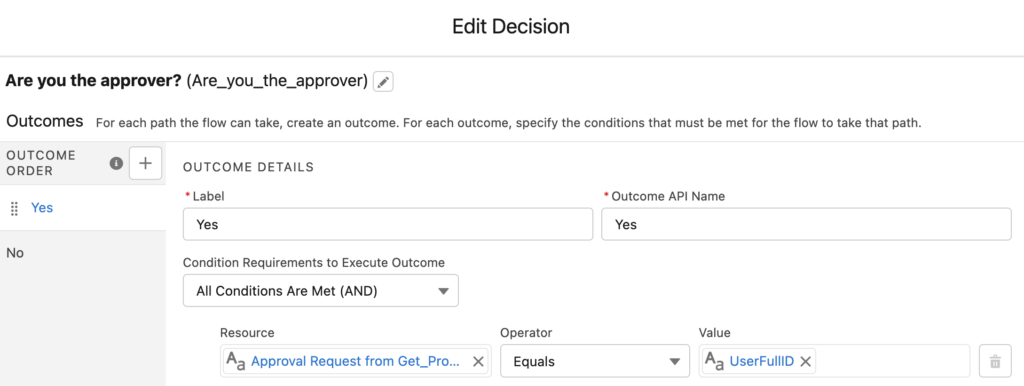
3- Create a new formula variable to store the current user's full Id (18 characters). Then add a Decision element to check if the current user is the approver. Otherwise, we don't want the other users to access the flow. Therefore, if the current user is not the approver, display a screen with a message.
You can compare the current user's Id with the ActorId field from the ProcessInstanceWorkItem record.
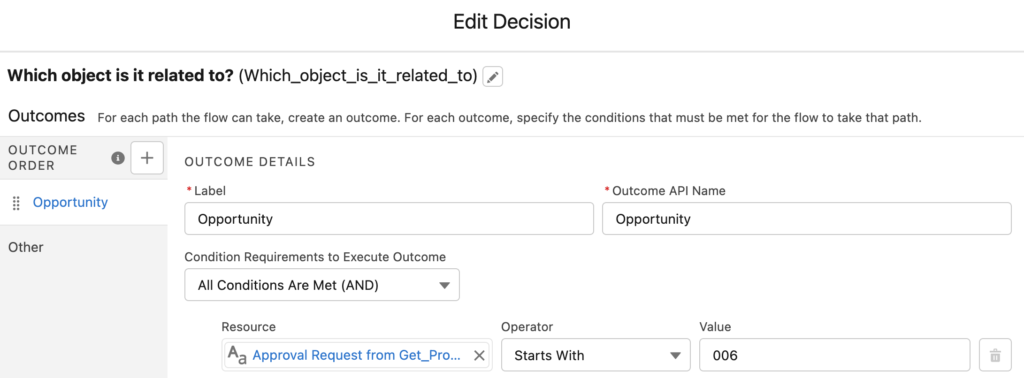
4- Approval request (ProcessInstanceWorkItem) can be related to many objects. Therefore, you have to check which object it is related to. Id of the record (lets say opportunity Id) is stored in the ProcessInstanceWorkItem.ProcessInstance.TargetObjectId field. You can check the object type according to the first 3 characters of this field. Let's assume that we are building this screen flow for the opportunity object. If it starts with 006, then it means that the approval request is related to an opportunity record. This decision will let you build different logic for different objects.
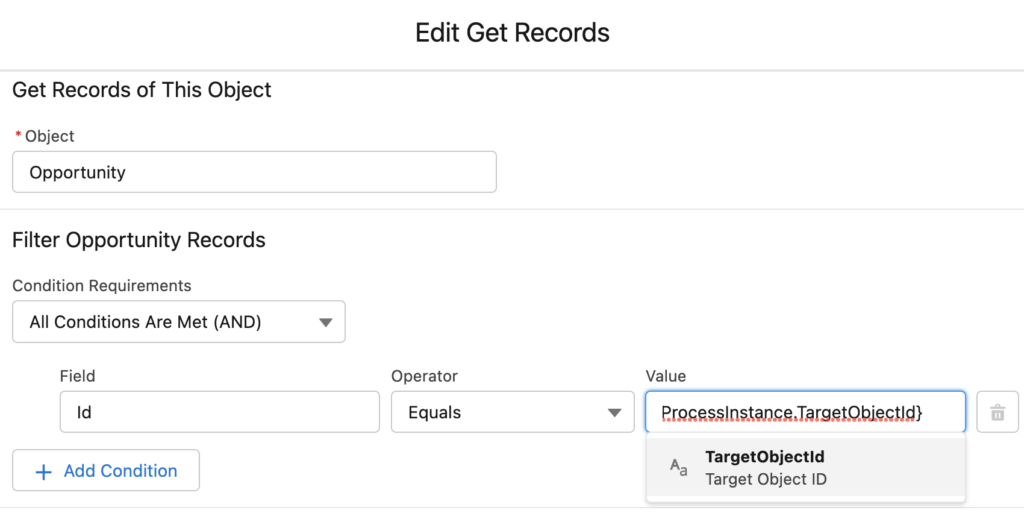
5- Add a Get Records element to get the details of the related opportunity record. This step is important if you want to display the opportunity record's field values on the screen.
6- Add a screen element to the canvas and add some fields to get input from the user. Display the opportunity record's current field values as the default values for those fields. Optionally, you can display fields from the related records as well. For example, display the phone and email of the related account record. This is a screen flow, be creative and add anything that you want, you are almost limitless at this point.

7- Add Update Records element(s) to update the opportunity and the account records.

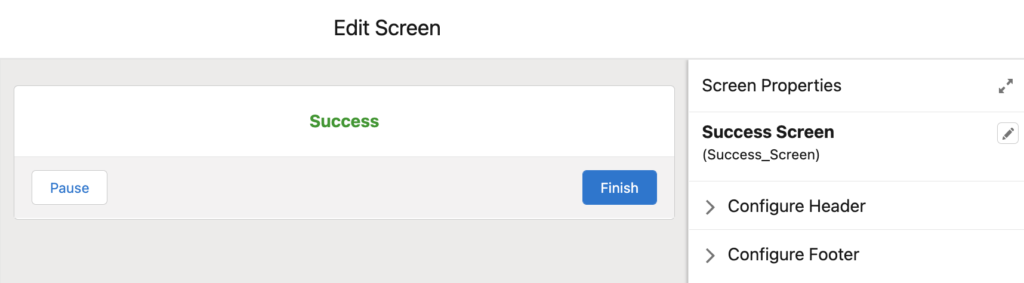
8- At the end of the flow, display a success screen.
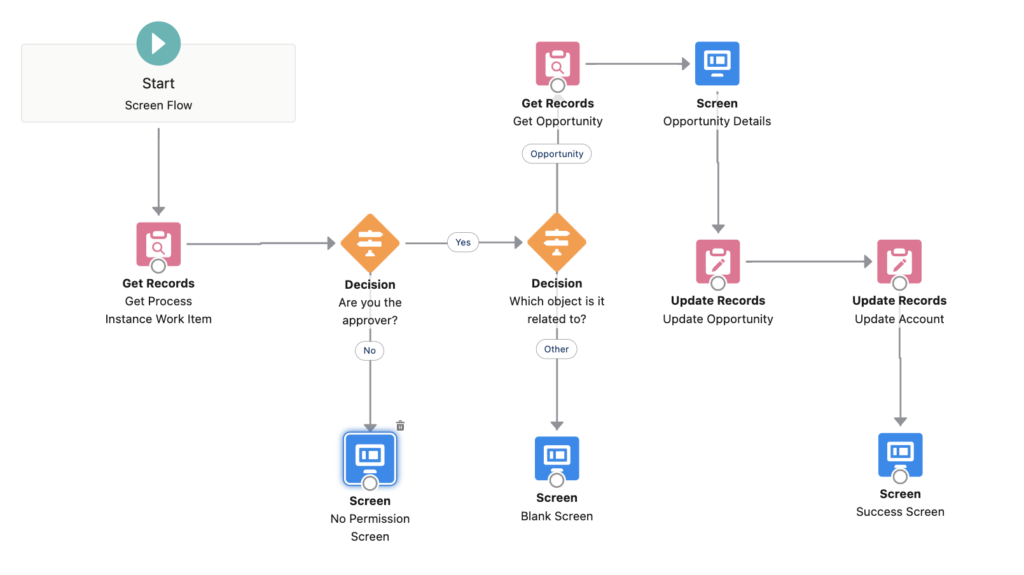
This is the end of the flow. Optionally, make the flow run in the system context. Otherwise, since it is an approval process, the user might not be able to update the record. If you followed these steps, your flow should look like this:
Add the Screen Flow to the Lightning Record Page
Your flow is ready, now it is time to put it to the lightning record page of the Approval Request. It is not possible to add a component visibility rule on the Approval Request Lightning page. Therefore, you have to be careful. Once you add this flow to this page, it will be there for all the approval requests (and not just for opportunity).
If your screen flow covers all the approval request types, then I recommend you to replace the standard record details component with your screen flow.

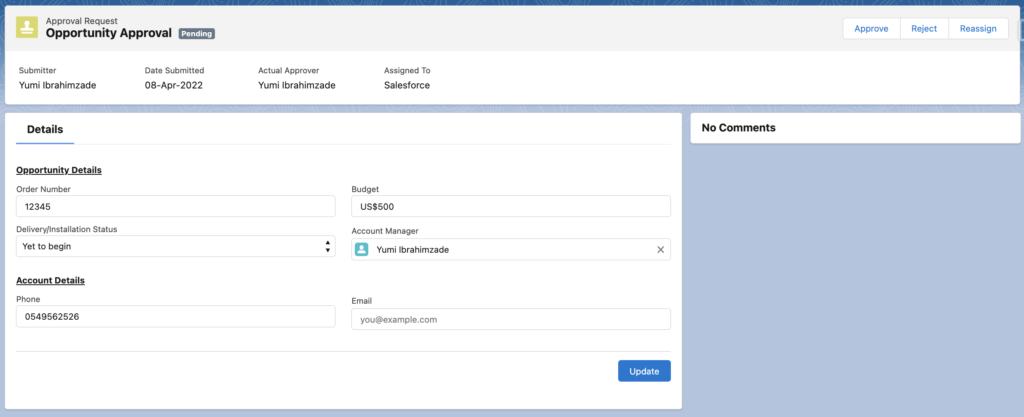
At the end, the approval request lightning page will look like this. Users can update the record and approve/reject from the same page!
Let's see the flow in action.
I need to make it editable for one object only, then what is the solution for this?
I think you can use the component visibility on the Lightning page and display the flow only for that object.
Or you can add a decision in your flow and display an error message if the object is not the one that you want to make editable.
Its not possible to set component visibility for the flow. If we display the error message then it will be displayed for all objects
Right, it is mentioned in the post.
This Flow is not working as expected, after adding to the page.
GET RECORDS: GetApprovalRequestRecords
Find all ProcessInstanceWorkitem records where:
Id Equals {!GetApprovalRequestRecords.Id} (null)
Store the values of these fields in GetApprovalRequestRecords: Id, ActorId
Result
Failed to find records.
Hi,
Can you please make sure that you are passing the Id of the Approval Request to your flow? (from the Lightning page)
Hi - I'm not sure that this is correct, or may have changed recently.
I'm using a dynamic lightning page for my custom object where all the fields for all users are set to read only (access to the record is via flow only).
My Approval Page has a link to the record Name. When the approver accesses the Approval Request page, they can hit the "E" button on the keyboard and it will edit the record. The title of the edit page is "Edit Approval Request", but it's the record. Disturbingly - in this 'edit' mode, although fields have values in the actual record, they are showing as blank/empty in this 'edit' mode.