
Using Salesforce Files, you can upload files to Salesforce, share and collaborate on files, manage file versions, and follow important files. There are a few objects that you should be familiar with. ContentDocument is the main object that represents the file itself. The second object is ContentVersion. This object represents the versions of the same file and lets you manage the versions. The third object is called ContentDocumentLink. When you upload a file directly under a record or when you share a file with a record, Salesforce creates a ContentDocumentLink record in the system. ContentDocumentLink is a junction object between a ContentDocument (file) and a record. In order to share files with other records, you just have to create a ContentDocumentLink between the file and the target record. Read this post to learn how to share files with records using flow. When you upload files to Salesforce, they can be viewed internally. However, what if you want to create public URLs and share them outside of Salesforce?
Making the Files Public
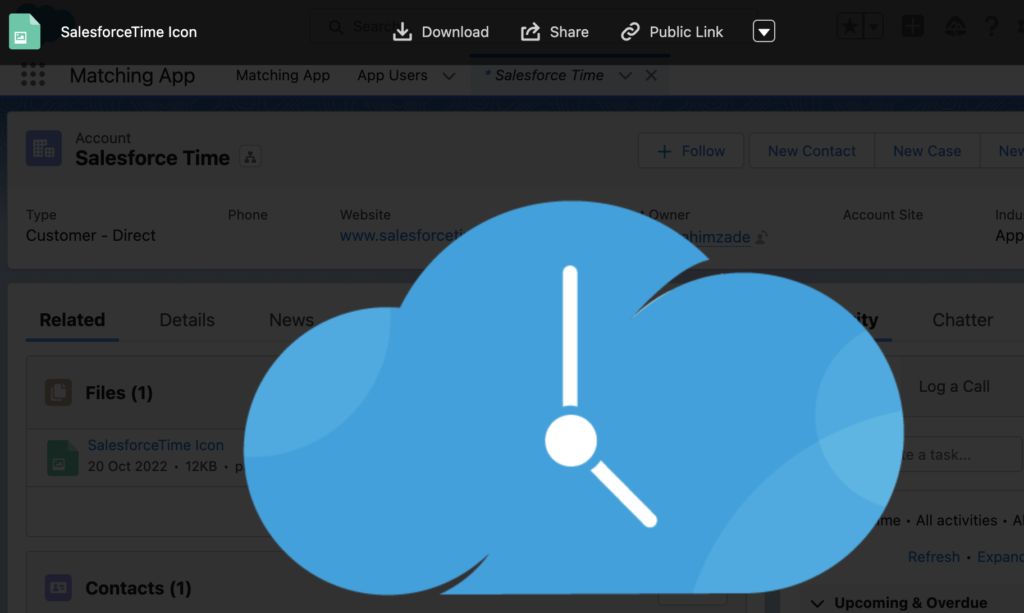
In order to upload a file, you can go to the Files related list and upload the file. This is the standard way of uploading a file under a record. However, you can use other custom solutions as well. For instance, flow, Lightning Component, etc.
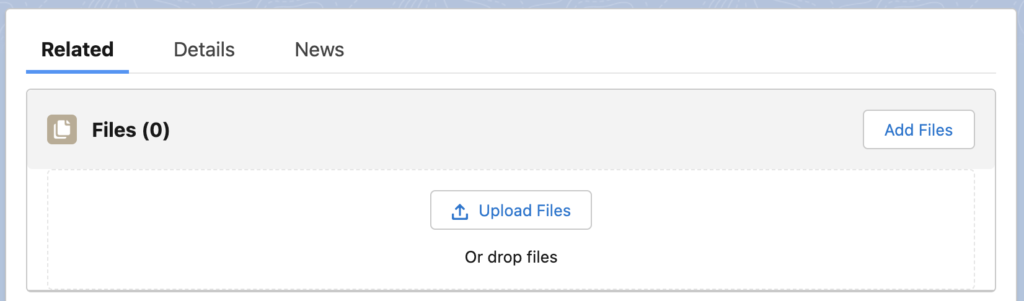
After uploading a file, you can create an unrestricted public link by clicking the Public Link option on top.
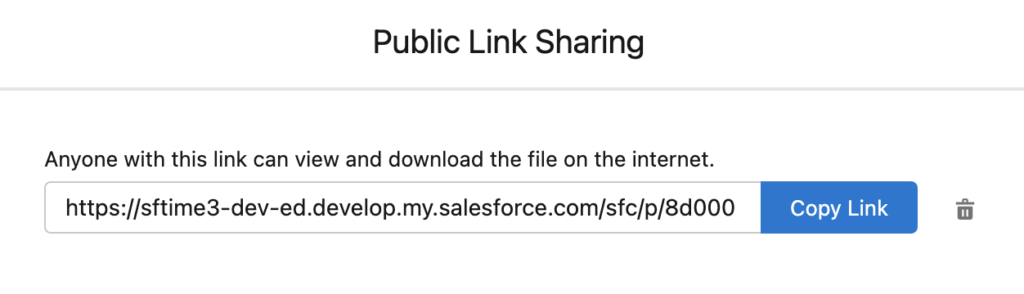
It will generate a public link for that specific file. With this public link, anyone can view and download the file on the internet. You can copy the link and share it with anyone that you want.
Everything was fine until this point. However, here are the problems. First of all, you had to click a few places, and then you copied the link manually. Too many clicks and nothing automated. Secondly, if you create a formula field that displays an image, you will see that it cannot display the image using this public link. However, this one shouldn't be a big issue since there are other ways to make it work internally.
Using Flow to Generate Public URLs
Content Delivery (API name is ContentDistribution) is the object that makes the files public. Once you create a ContentDistribution record related to the ContentVersion, it creates a public URL for that specific version of the file. When you create a public link using the Public Link button (the option that was shown before), it creates a Content Delivery too. Let's see how to automate this process.
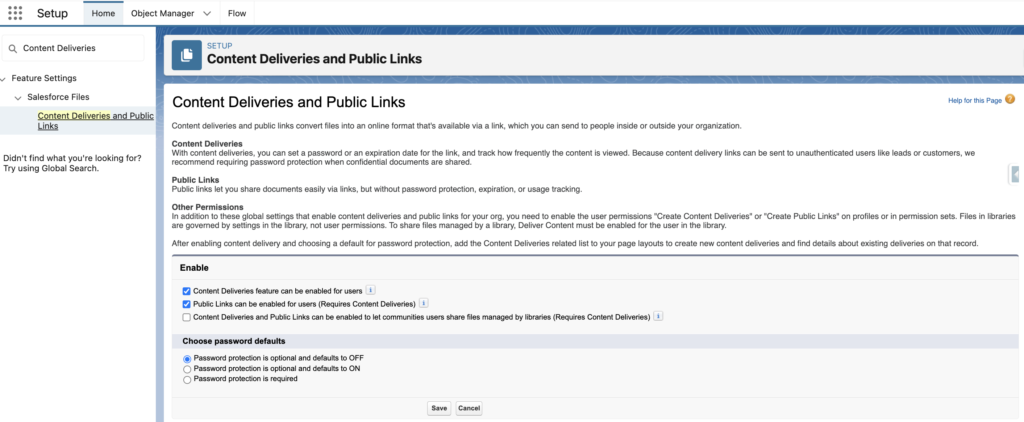
Before building the flow, enable this feature from the Salesforce setup.
Screen Flow to Upload a File and Generate a Public URL
Let's create a screen flow that lets the user upload a file. Then it should generate a public link for the file, and save the link to a URL field.
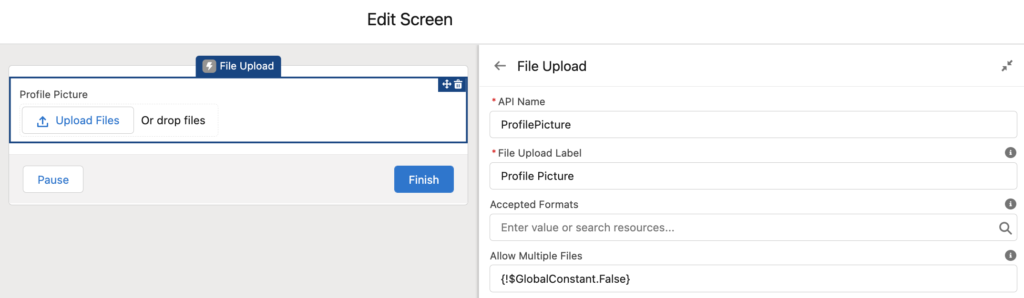
1- Create an input variable called recordId, add a screen element with a file upload screen component. Let's not allow multiple files, so that the flow will work with one file.
2- There is no setting to make the standard file upload component mandatory. Because of this, you can add a decision to check if the user uploaded a file. However, this step is optional.
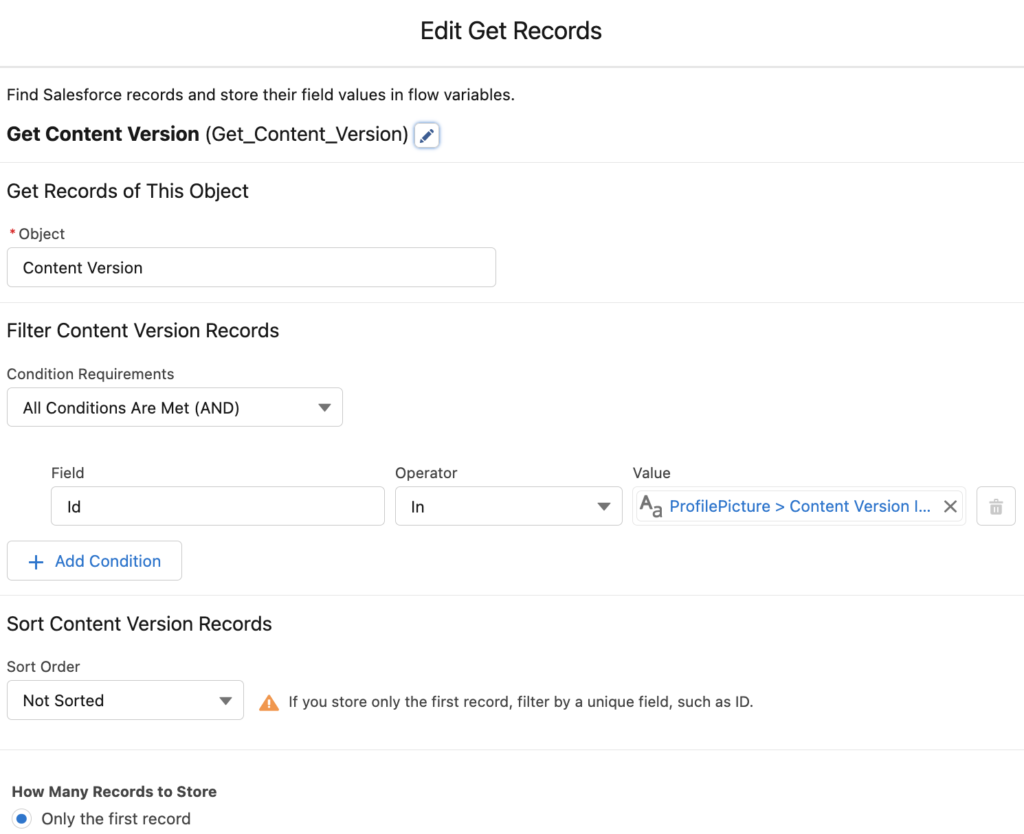
3- Even if you don't allow uploading multiple files, Salesforce stores the Ids of the content versions in a text collection called ContentVersionIds. Therefore, you have to get that content version record using a Get Records element. You can use the In operator that Salesforce released in Winter '23.
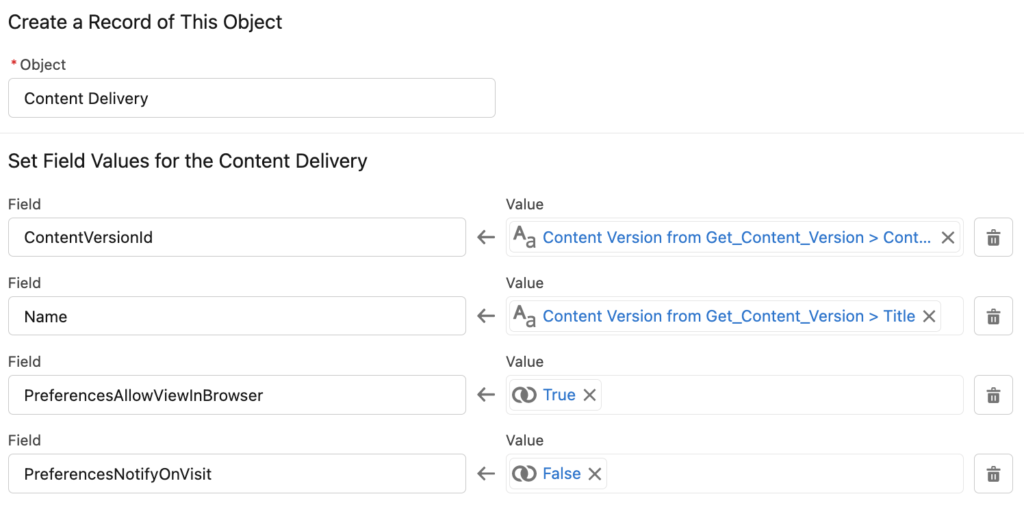
4- Create a ContentDistribution record with the values from the ContentVersion record that you got in the previous step. Don't forget to make PreferencesAllowViewInBrowser true. You can set the other preferences as well.
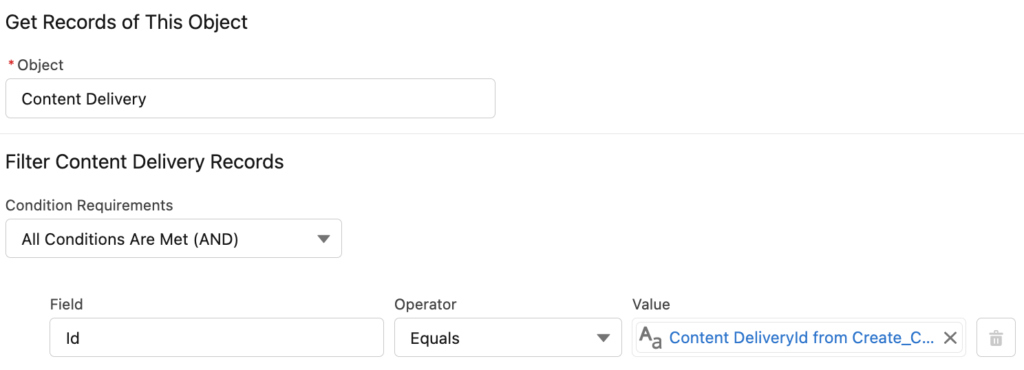
5- Get the Content Delivery that you created in the previous step.
6- Content Delivery has two fields that get auto populated. DistributionPublicUrl stores the public url of the file. Anyone with this link can view the file in a container. However, it is not possible to use this public URL in an img tag. The second auto populated field, ContentDownloadURL, contains the link to download the file and it is possible to use it in an img tag. Therefore, this is the field that we need.
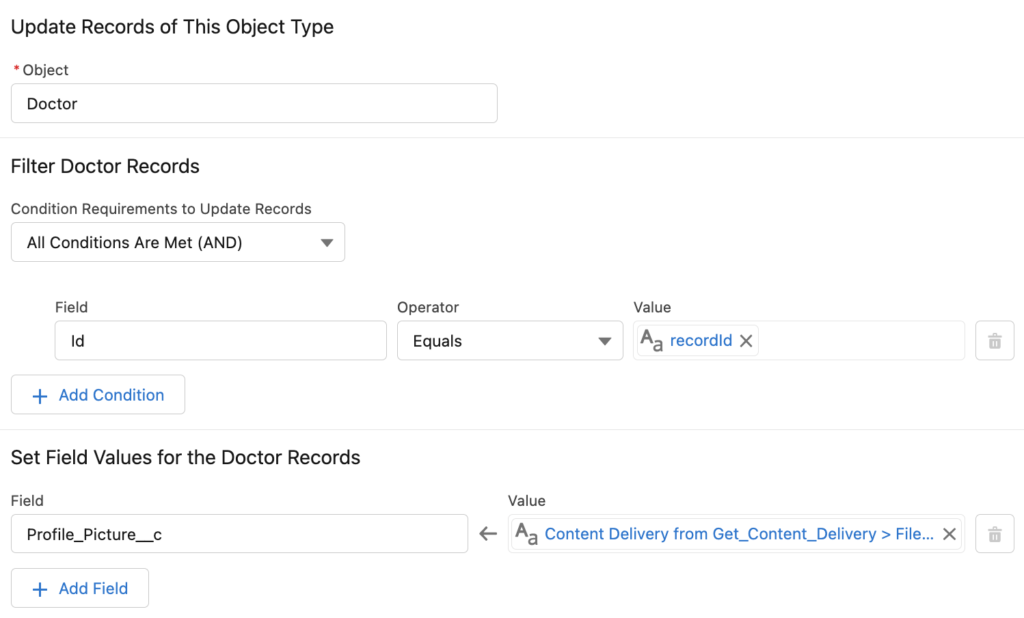
Add an Update Records element to update your record. In this example, value of ContentDownloadURL is saved to Profile_Picture__c field.
7- Optionally, add a success screen.
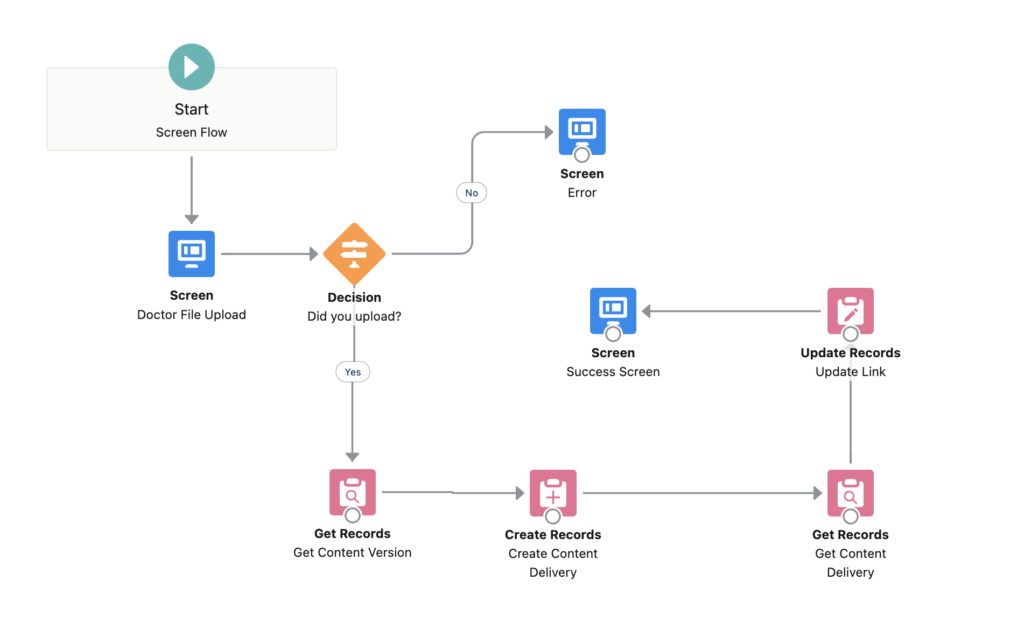
At the end, your flow should look like this.
Result
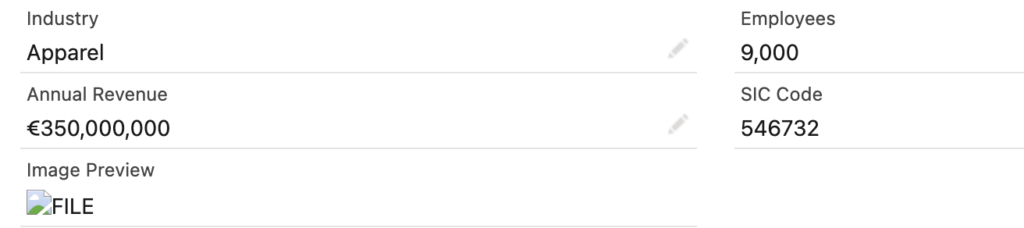
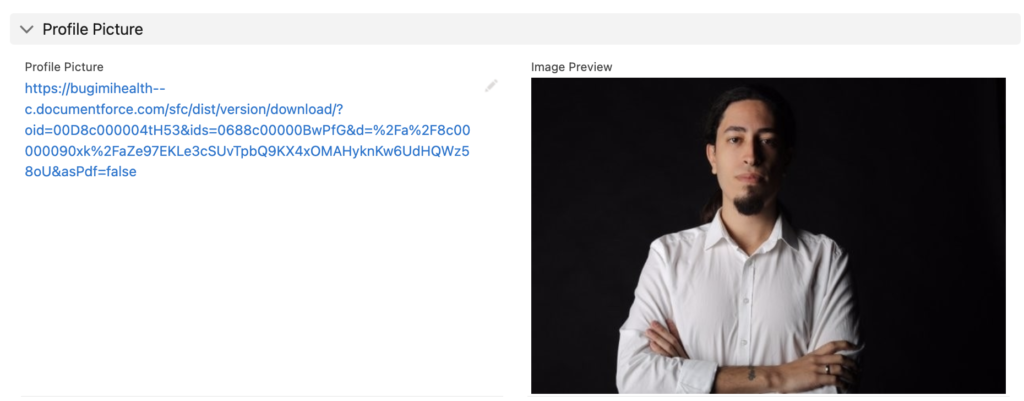
This flow saves the file under the record, creates a public URL, and saves it to a custom field. You can create a formula field that displays the image from the link. As you can see, I uploaded my profile picture, flow created a public link, and the Image Preview formula field displays it.
Content Delivery object stores the public URLs of the files. However, it stores even more information about these public URLs. For example, you can see the first view date, last view date, and total view count. On the other hand, you can put a password for sensitive files or add an expiration date to the link. All these features make the Content Delivery a very useful object in Salesforce.
I follow the steps and I can display Image in Salesforce org, but an portal user is not able to see it in an Experience cloud site. Is there any way to get the URL addresse instead of the ContentDownloadURL with a flow?
Hi Pamela,
You may need to add the link to CSP Trusted Sites in Salesforce Setup.
I am stuck at step 4- Create a ContentDistribution record.
Working in a sandbox, as a System administrator, I get this when I debug:
== == == ==
CREATE RECORDS: ContentDelivery
Create one ContentDistribution record where:
ContentVersionId = {!ContentVersion_get.Id} (068AP000000AYd7YAG)
Name = {!CV_Title} (My_Document_Title)
PreferencesAllowViewInBrowser = true
PreferencesNotifyOnVisit = false
Result
Failed to create record.
Error Occurred: This error occurred when the flow tried to create records: INSUFFICIENT_ACCESS_ON_CROSS_REFERENCE_ENTITY: insufficient access rights on cross-reference id. You can look up ExceptionCode values in the SOAP API Developer Guide.
== == == ==
That is too bad. I was so happy when I found your tutorial.
If you read this and have any suggestions?
I would very much appreciate it.
Kind Regards,
Hans Post
Hi,
Search "Content Deliveries and Public Links" in Salesforce setup and make sure that it is enabled. This might be the reason.
Hi Yumi,
Thank you very much for your reply.
I have enabled "Content Deliveries feature can be enabled for users" and "Public Links can be enabled for users (Requires Content Deliveries)" but still the same error.
I am a SysAdmin do is therer still a setting I am missing on the profile (I know some are not set by default, even for SysAdmin).
Any help is very, very much appreciated.
Kind Regards, Hans Post
Hi,
Please try to follow these steps:
To enable Deliver Content from the library:
Enable Content Delivery function for the org and Create Public links for the profile/permission set.
Change to Classic
Enter Setup
Expand Customize->Salesforce Files
Select "Content Permissions"
Edit the "Author" or your custom Library Permission
Check the "Deliver Content" checkbox
Save...
https://salesforce.stackexchange.com/questions/312172/content-distribution-records-are-not-getting-created
Hi Yumi Ibrahimzade,
I've got the flow and the result that i wanted!
Also, I've learned a lot about ContentDocument/Version/Delivery/...
I'll look over my flow to see if it's bullet proof and bulk-safe but for now: I'm on my way.
Thanks for your blog and swift replies to my questions.
Kind regards,
Hans Post
I am glad that it worked Hans!
Hello Yumi,
Thanks for the post it really helped me. When you create the public link, there is no way of having that link populated in the 'Create Link' UI from Salesforce correct? The example I was given is:
If you create the public link manually, and I want to extend the expiration date, how do you do that from the UI ?
Hi Yumi,
Do you mind making a video out of this to show the detailed steps please?
Thank you.
Sincerely,
Isabelle
Hi Yumi,
I am fairly new to Flows and I got a few questions:
1. What is the object for the input variable recordID, should it be a text or record?
2. What value did you put in the first Get Record after the Decision? I can't seem to find 'ProfilePicture > Content Version I....'
3. Would it work if I put in a different Decision tree? I created a picklist option for the Screen so in my decision tree users can select the type of document they can upload. Would the Flow still work if I use my decision tree?
Thank you,
Isabelle
I was trying to use this but finding that the ContentDownloadURL was blank for the distributions I was creating. I was able to solve this by setting PreferencesAllowOriginalDownload = True in creating the Content Distribution record.